Thank you! I’ve just finished my quilt top and this is really useful.
How to Bind a Quilt Tutorial
Katrina took the time to go through step-by-step on how she binds her quilts.
Throughout this simple process, she also demonstrates the best way to do a mitered corner.
What you need...
- Quilt
- Ruler
- Rotary Cutter
- Pins
- Binding Clips
- Fabric for your binding (cut to correct measurements)
- Sewing Machine (threaded), with walking foot attachment
- Iron
How To...
Use a ruler and rotary cutter to trim your quilt to the desired size.
Measure your quilt and figure out the circumference of your quilt. This is how much binding fabric you will need.
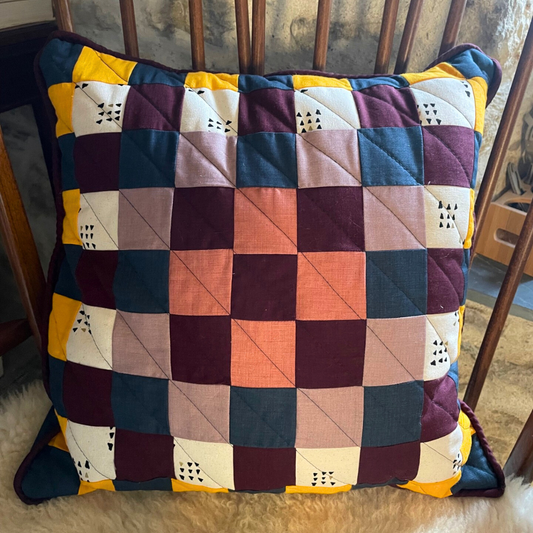
For example, Katrina's quilt is 18” square.
18” x 4 = 72"
Most bolts of fabric are 42”.
Katrina decided to cut 80 inches (Two cuts from a bolt) of fabric for her binding.
Remember you will need a little bit extra for the tail at the end and for my mitered corners.


Tidy up any raw edges before cutting.
Then cut two 2 ½ inch strips.
Trim off the selvages.
Sew your two pieces of fabric together using a quarter inch seam.
If you're new to putting binding on it's easier to do a straight join, but some people join at 45-degree angle.

Press the seam open.
Normally in patchwork and quilting we press them flat but when we're doing binding press the seams open.
Then press the strip in half wrong sides together, creating the binding.

Katrina considered where to start/end her binding. As her quilt is a wall hanging, she chose the bottom left.
“I tend to do that with all quilts i just put it down there so it's not right top center where you've got joins.”
Leave a nice long tail and start pinning.
Remember to have your fold going into the quilt and raw edge with the raw edge of my quilt.

Once you get to the corner, you are going to prepare for a mitered corner.
Fold it into the corner and give it a nice crease.
Put your thumb in that fold and lift, so that your tail comes down square on this side of the quilt.

Then pop a pin in to hold it in place.
Repeat this process on all 4 corners and pin the binding in place.
When you return back to the beginning, leave the two ends loose because that is going to form the join.

Now it’s time to machine the binding in place!
Katrina chose to lengthen the stitch on her machine. She took it from two and a half to three and she also put a walking foot on because she was sewing through a lot of bulk and the foot will help keep the fabric flat so it won't all pucker up.
Start by doing a little locking stitch and sew to the first corner.
As you’re approaching the first corner, lift back the little flap and sew up to the fold line.


Stop with your needle in, lift your presser foot and turn the fabric so you will sew off the quilt. Sew off the quilt and cut the thread.
Fold the flap back over, covering your previous stitches.
Remember to cover your work.
Then start again with your needle in a quarter of an inch gap from the top.
Then sew straight to the next corner and do the same for all 4 corners.
When you get back to the start, finish with a locking stitch.
You should have two tails left with a gap.
Fold both ends of the binding up to eachother.
Iron the two pieces to create an accurate crease where you want the join to be.
The fold you create is going to be the seam line.
It's just worth taking your time to get the right crease because you get a better fit.

Where it's creased, open the binding out and back the two pieces together.
Pop a pin in there where the crease line is.


Next, Sew down the crease line. The pins are there as a guide.
It isn't worth changing your walking foot for this fiddly little bit.
Once sewn, make sure that it's the right size. That it's not going to be too baggy.
When happy with the fit, cut a quarter of an inch away from the stitch line.
Make sure you're cutting your quarter inch on the correct side. Not the side nearest to the quilt.

Using the iron, press the seams open and then press the last part of your binding flat and in place.
Machine the gap.
Next, flip the binding back in half and use binding clips to hold it in place.
When pinning a mitered corner - Fold it over and pop a clip on it.

Once it's been hand sewn, you'll see how it sits better. You can see how the miter goes into the corner and that's what's going to happen with all of your corners.

Continue clipping the binding all the way around.
Then to finish it off slip stitch all the way along the binding.
Always use thread that is the same colour as your binding.
When you get to your corner, you're going to fold one side, under the other - so you've got a lovely miter and just put a tack stitch in there to hold it...

… and just like that, you have a binded quilt and lovely mitered corners.
If you'd prefer a video tutorial of this project, see below!

Comments
Leave a comment
Your Email Address Will Not Be Published. Required Fields Are Marked *


1 comment