Fabric Card Wallet Tutorial
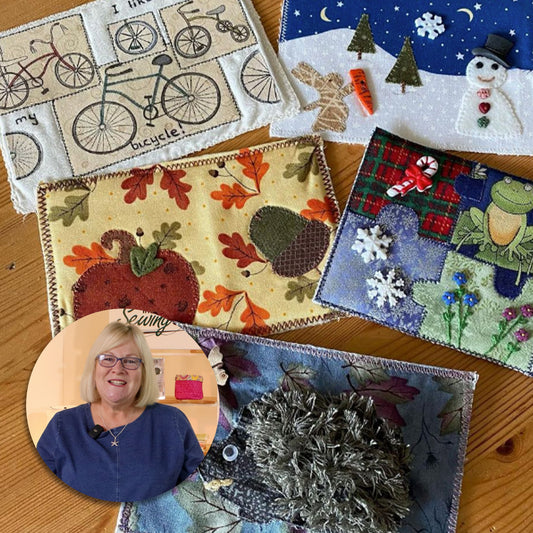
Katrina shows us how to make a fabric card wallet to use for gift cards, or general use. Don't want to lug around a purse on a night out? Simply carry one of these which has room for your cards and cash!
This wallet can be made using ribbon to tie together or a popper to pop shut.

What you need...
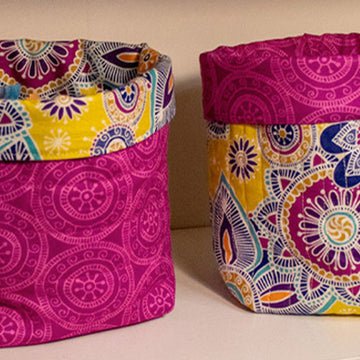
- Two pieces of fabric (lining & outer) measuring 6 x 4.5 inches.
- Two pieces of fabric (pockets) measuring 5 x 4.5 inches.
- Iron-On Vilene (enough to cover 3 / 4 pieces of the fabric).
- Two 5-Inch long Ribbon OR One Popper.
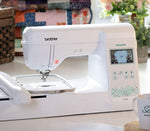
- Sewing machine (threaded).
- Wonder Clips.
- Fabric Scissors.
- Iron.
How to...
Firstly, grab your two pieces of background fabric and iron on Vilene to the back of one of them.

Outer & Lining Fabric

Pocket Fabric
Next you need to make the card pockets. Iron on Vilene to both of those pieces of fabric.
When you're putting iron on Vilene onto fabric Katrina always makes it slightly smaller than the fabric. Two reasons; You don't want to get any sticky residue on your iron and when you've got a lot of bulk, where your seam line is, it helps so that it's not too thick.
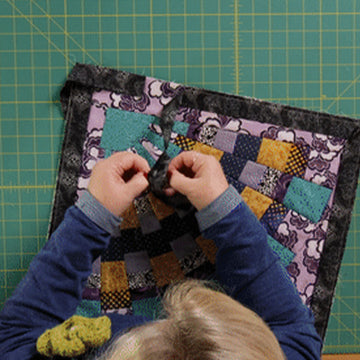
Press the pockets in half which will form our pockets.
Make sure to fold it in half the right way. (Use picture)

It doesn't matter which piece you use for your front piece (whether it's the one with the Vilene on or the other).
Clip the pockets to lining fabric.
Using a scant seam, sew around the outside of the wallet.
(Next seam i'm going to do is a quarter of an inch so it will hide that stitch)

Next, Attach your ribbon to the pockets on the wallet.
Measure the center line and what you want is your ribbon facing inwards.
Then sew across the ribbon, securing it by going backwards as well.
Now do the same on the other side.

Tuck the ribbon inside of the pocket to avoid stitching them by accident.
Sandwich your wallet with the outer piece of fabric, right sides together. Use the clips to hold them in place.
Then sew all the way around, using a quarter inch seam, but make sure to leave a gap for turning.
Snip off the corners - carefully not cutting through the stitches.

Then turn through - because of the heavyweight Vilene it is a bit fiddly and it does take a little while, so be patient.
Next, give it a good press before you close the gap. Remember to press the open seam too.
Be careful at this point if you're using these silky ribbons you don't want to melt that under your iron.
Use clips to hold the seam in place.
Top stitch the wallet using a scant seam, which will close the gap.

Finishing Touches...
- Tidy up your threads.
- If you think you've got too much ribbon you can always trim that off.
These would also be perfect for a night out when all you wanted to take a note and some cards. It doesn't have to be for gift cards, it can be for your regular cards too.
If you'd prefer a video tutorial of this project, see below!

No comments


0 comments