Fabric Storage Bin Tutorial
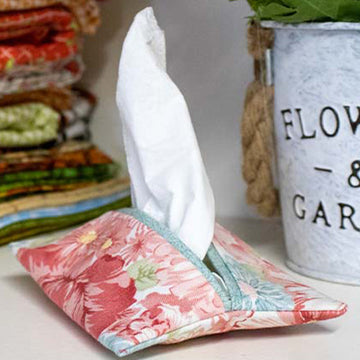
"Many years ago, I won this little one (fabric pod) at the festival of quilts in Birmingham and since then it sat on my cutting table every day and all my little off-cuts have been put in it." - Katrina
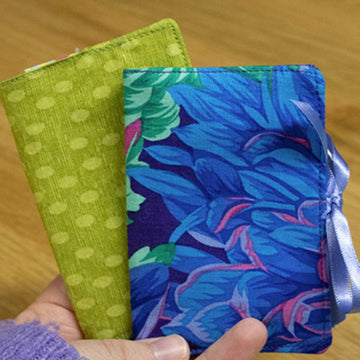
You can make fabric storage pods from any fabric of your choice and can keep anything you want in them - the possibilities are endless. Using some of your leftover layer cake squares, why not make a few for your sewing/craft room to store small bits of scrap fabric in? Katrina kindly shows us how to make them.
What you need...
- Four 10-inch square pieces of fabric (two for outer, two for inner)
- Two 10-inch square pieces of wadding or Vilene.
- 505 Spray (if wadding isn't fusible)
- Threaded Sewing Machine
- Fabric Scissors
- Sewing Machine – with walking foot.
- Ruler
- Pins
- Pen/Pencil
How To...
Katrina chose to have two 10-inch squares of the lighter color and two 10-inch squares of the outer fabric.
She also put wadding on the back of the two outer fabrics. You can either use a fusible wadding or stick the wadding on using 505 Spray.

Next, find the bottom of your fabric and mark out a two-inch square. You can use a pen or pencil to mark the 2-inch square because we're going to cut those bits off - it doesn't matter about marking.
Cut the boxes out on all 4 pieces of fabric (outer and inner).


Your sewing machine should have a walking foot on because you will be sewing through two layers of fabric and wadding – so this will stop it getting all scrunched up.
Now, place one of your lining pieces ontop of an outer piece. Sew along the top edge right sides together. Do this for the other pieces too.
Then place your two outer fabrics and two lining fabrics right sides together and sew straight across the bottom on both, BUT on the lining leave a small gap for turning.


Then sew right the way down both sides.
With the bulk on the sides - push them in opposite directions and pin them in place.

Almost there!
Open your box corners and sew straight across the bottom.
This is what gives us our square shape at the bottom.
Katrina suggests to sew a generous quarter of an inch here because previously it didn't catch all of the fabric and when she turned it through and she got a raw edge.

Finally, turn the pod inside out, so it's the right way around. This takes a little bit of time because of all the bulk that we've got to push through.
With the open part of your fabric, you can either slip stitch that closed or you could go back over to your machine and just do a small stitch to close your gap.
This pod is fully customizable.
- You can make smaller / bigger pods (as long as the measurements are square).
- You can quilt the fabric (at the beginning).
- You can use Vilene instead of Wadding.
- You can leave the sides up or you can turn it over and make a cuff.
- You can add a little bit of top stitching or you could sew the whole thing down and do some decorative stitching.
If you'd prefer a video tutorial of this project, see below!

No comments


0 comments