Pocket Tissue Holder Tutorial
Katrina shows us a smart, quick and easy way of creating a cute pocket tissue holder. All you need is two pieces of fabric (can even use scraps) and a sewing machine! This also makes a good Mothers Day gift if you're running out of ideas!
This is great for using up scrap fabric too!
What you need...
- 7 x 5 ½ inches of fabric (outer)
- 7 ½ x 5 ½ inches of fabric (inner/lining)
- Sewing Machine (threaded)
- Fabric Scissors
- Iron
- Pins
How To...
Cut two pieces of fabric to the correct measurements. Make sure you get your outer and inner lining the right way around. The inner lining is the bigger piece.

Outer Lining

Inner Lining
Once your two pieces of fabric are cut to length, next you must sew them together.
You will need to sew them right sides together and a quarter of an inch down both sides.
It is important to sew both sides to the edge, it is okay to have baggy fabric in the middle as all will be revealed shortly.

Once sewn, turn the fabric.
Give it a press - from the center and work outwards.

Press it in half, to find the center line.
Then fold each edge into the center line and pop a pin to hold the fabric in place.

Sew down each side.
When you get to the center where the pieces are folded over, do a couple back stitches, which gives more strength to the opening part of the holder.
If you stitch using a zigzag, this can help stop any fraying.

Turn it through, giving your corners a little poke.
Give it a press and pop some tissues inside.
Smart, Simple and Quick!
Finishing Touches:
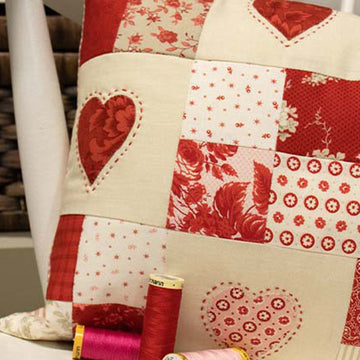
- Applique a heart.
- Embroider somebody's name.
If you'd prefer a video tutorial of this project, see below!

No comments



0 comments