2-Block Quilt Tutorial
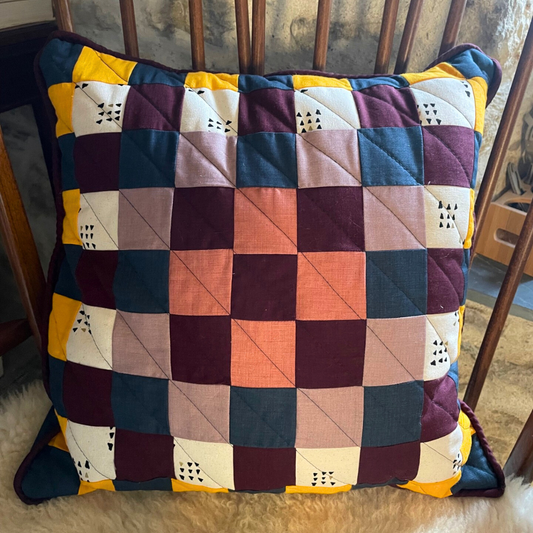
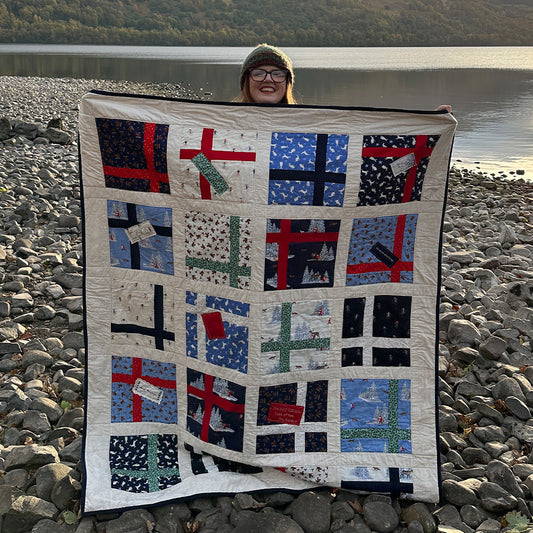
We've been lucky enough to be loaned this quilt by Katrina's friend Val who is part of her quilting group. Val's quilt has been made using Lynette Anderson fabric but for today Katrina will be using Batiks.
What you need...
- Batik Jelly Roll / Bali pops
- Meterage Fabric
- Sewing Machine (threaded)
- Rotary Cutter
- Pins
- Iron
Optional:
- Fabric Pencil
How To...
Nine Patch Block

Take your jelly roll and sort it into lights and darks.
Then organise your strips into groups of 3:
- Light strip, dark strip, light strip.
- Dark strip, light strip, dark strip.
Using a quarter of an inch seam sew the strips, right sides together.
Give them a press. Set the seams and with each of the strips, press the fabric towards the dark side.
The reason you must do this - is so that you're able to lock the seams when you come to join your nine patch together.

Straighten up the edge of your fabric.
Cut off 2.5" from group A. Then cut two lots of 2.5" from group B.
So you should have something which looks the same as the images below.


You should be able to see, because your seams are going the opposite way to each other... they butt nicely. Giving you a nice accurate join.
Pin the fabric together so that the seams are butted. Then sew the strips together using a quarter of an inch seam.
Once sewn and ironed that is your nine-patch block done.
Hourglass Block
Choose your light and dark fabric. These both must measure 7.5" square.

Put the two pieces right sides together and make a pencil line on the diagonal corner to corner.
If you dont have a pencil, you can fold both pieces diagonally to make a crease instead.
Sew a quarter of an inch away either side of the pencil line.


Using a rotary cutter, cut up the pencil line. Leaving you with two half square triangles.
Iron and press open both pieces towards the dark side.
Now put both squares right sides together. BUT make sure to put opposite colours together (Light & Dark).
In this tutorial Katrina put her turquoise fabric is against the yellowy green.
Draw a line (again) across the diagonal. Machine a quarter of an inch on either side of the line. Then cut down the middle on the pencil line.


Tidy up the blocks. If you've got a square ruler, use that, but Katrina took the little corners (ears) off and squared it by eye.
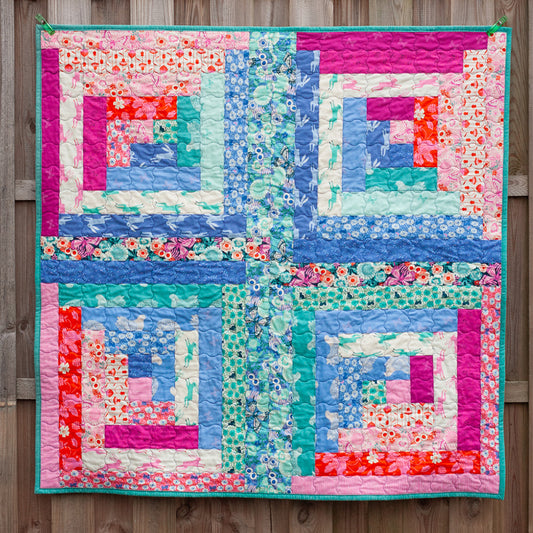
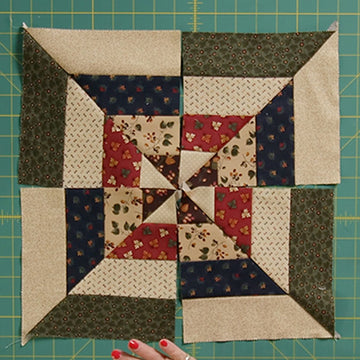
How you lay your quilt out is up to you, but for this quilt design it was laid out as follows:
ROW 1
Nine patch,
Hourglass,
Nine Patch,
Hourglass,
etc.
ROW 2
Hourglass,
Nine Patch,
Hourglass,
Nine Patch,
etc.
It is important to take note of the placement of the hourglass block per row.
In the top row the hourglass block has got the dark at the top. When it comes to the next row lay the hourglass so the light fabric is at the top.

Repeat this process until you have the right amount of blocks for the size of your quilt. The quilt used in our tutorial measures 60" x 60" and is made from 9 blocks squared.
If you'd prefer a video tutorial of this project, see below!

No comments


0 comments