Windmill Jelly Roll Quilt Tutorial
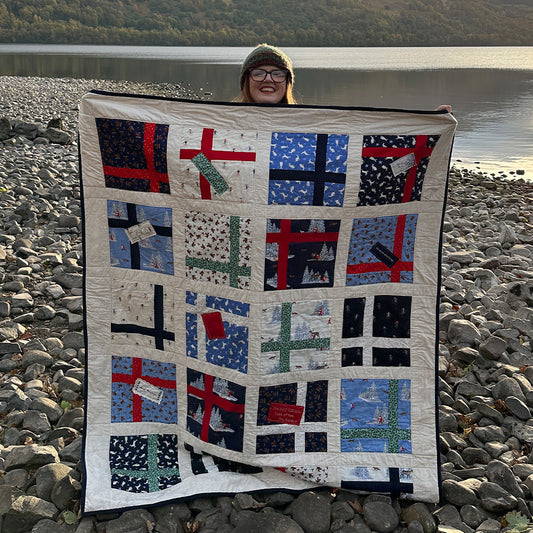
Katrina has been working very carefully on a Quilt made from a Jelly Roll. So we thought we would give you a step-by-step on how she made this hypnotising Quilt.
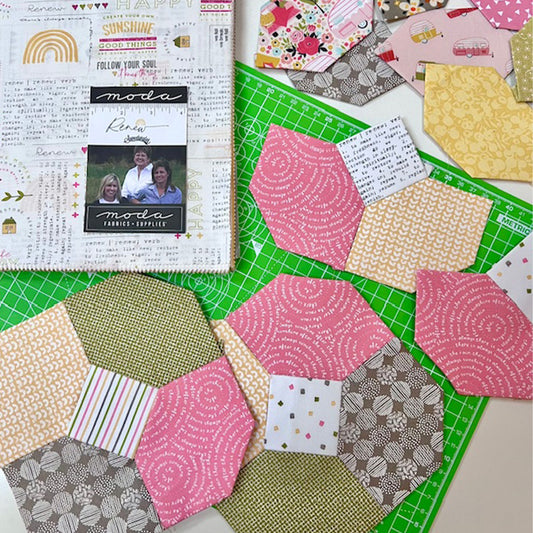
The quilt on display has been made using a Threads that Bind Jelly Roll, by Moda - Blackbird Designs. The other fabric Katrina uses to demonstrate with is a Kansas Troubles Jelly Roll.
For this block you are going to need a selection of light and dark fabric.
What you need...
- Jelly Roll
- Sewing Machine (threaded)
- Rotary Cutter
- Quilting Ruler
- Pins
- Iron
How To...
The first step is to sew the jelly roll strips together.
It is important to sew 4 strips each, in the dark, light, dark, light order.

An important thing with this is how you press your fabric (to the dark side). We must make all our seams lock together because there's points on this quilt where you've got eight pieces of fabric all interlocking.
Now that the jelly roll strips have been sewn into groups of four, next you must measure how wide it is. Wether the strips measure 8" or 8¼" or 8½" you will need to cut them into squares.
Everybody's quarter inch foot is slightly different and with this block - accuracy is the key.
Before you do that, lay your second row of jelly roll strips on top of the other, right sides together and make sure the light fabric is on top of the dark fabric.

Tidy up the edges and cut the jelly roll into squares.
Katrina's 4 jelly roll strips measured 8" wide, so her square measured 8" x 8". She did this using a quilting ruler and rotary cutter.
The length of a jelly roll strip is long enough to cut 5 squares from it.
Still keeping both layers of fabric on top of each other - Carefully cut the squares diagonally from one corner to the other.
When opened out, see that the fabric is now forming a square.

It's important to make sure that you've pressed your seams the right way because when we join the fabric up you can see that the seams are going in opposite ways so they're locked into each other.
Folding the triangles back together - pin along the bias, making sure the fabric continues to go light, dark, etc.
Try not to handle your fabric too much because you might end up getting a lot of stretch and movement.
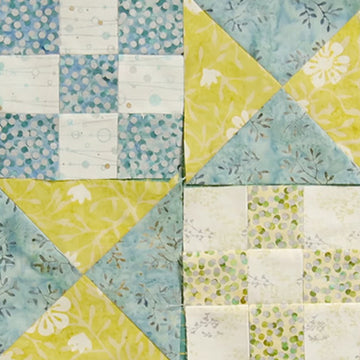
Sew the triangles together and then press them open. Once all of the squares have been pressed, start to lay out your block like the image below.


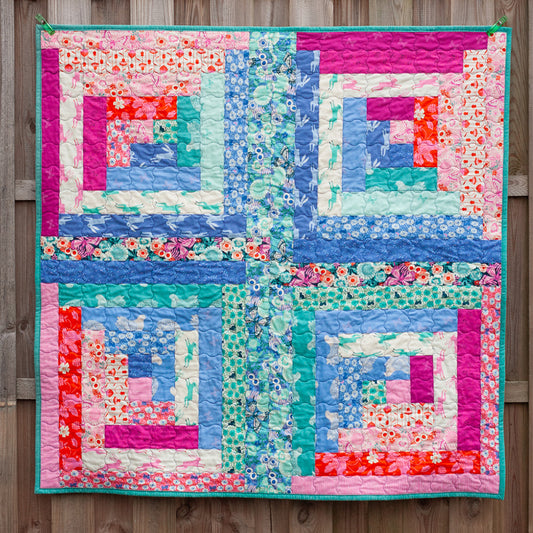
This quilt is made up from 9 of the above blocks. Once they are all attached to eachother, this pattern also makes another shape (see below).

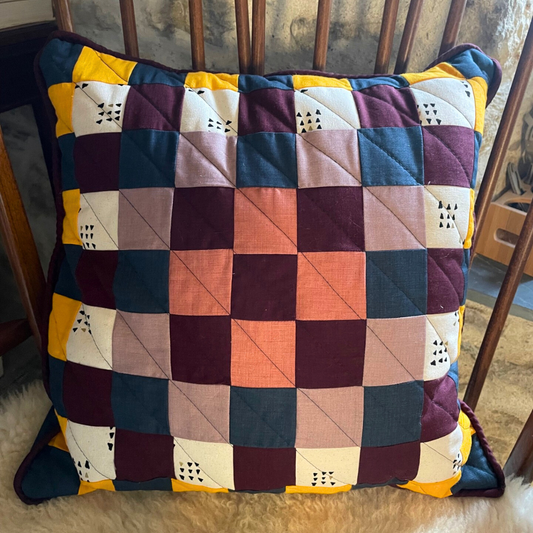
Katrina finished this quilt with a border measuring 4" - which gave the finished quilt the overall size of 52" square.
"I'm probably going to quilt this in a cross hatch design. This block is not for the faint-hearted. I would say don't look too closely because sometimes the points are quite difficult to get lined up. But that's the beauty of a good bit of heavy quilting in a fancy stitch. It hides a multitude. I'll probably do some tram lines in the border and i'm going to bind it with a gorgeous purple." - Katrina
If you'd prefer a video tutorial of this project, see below!

No comments


0 comments