Fabric Envelope Tutorial
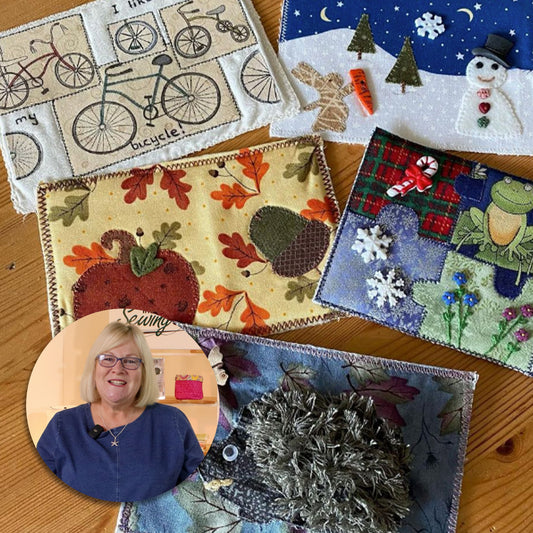
"Sometimes when I'm sitting waiting for an appointment, I like to do a bit of hand sewing. So, it's always handy to have one of these pouches with you. You can keep all your little hand sewing pieces in there nice and safe." - Katrina
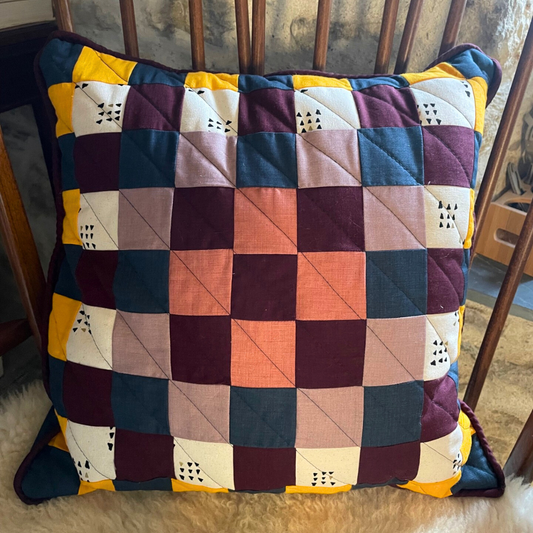
Katrina will be showing us how to make a simple travel pouch, with an envelope design. You can keep anything you want in - for example hand-sewing items. You can use any fabric combination you want and finish with a popper, ribbon or button!

What you need...
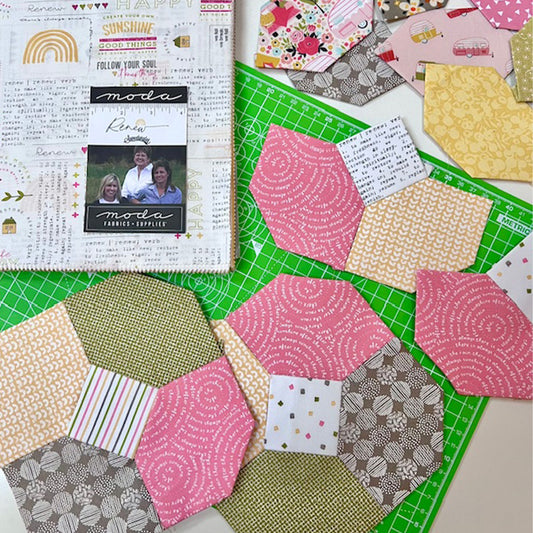
- Two 10-inch Squares of fabric (One for inner, one for outer) - these can be leftover Layer Cakes.
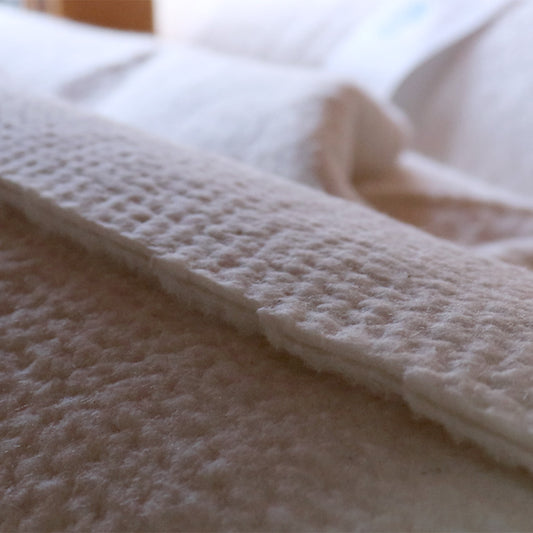
- 10-inch Square of wadding – can use scraps of wadding.
- Two Buttons & Ribbon OR Magnetic popper & Button (to hide popper).
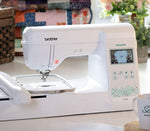
- Sewing Machine (threaded) with walking foot.
- 505 spray.
- Iron.
Optional:
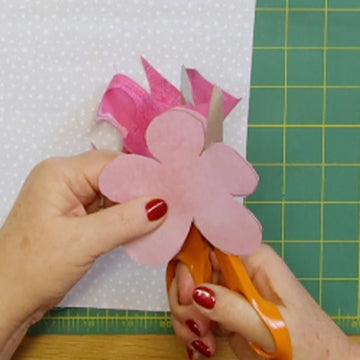
- Felt – to make heart shaped pin/needle holder.
How To...
Fuse the wadding to back of your inner fabric - Katrina used 505 spray.
If you want to add a felt heart to put your needles and pins, the time to put it on your lining is now. When you put it in the corner, you don't want it to be too near the edge, because you're going to have a seam allowance.

Put your inner and outer fabric right sides together and then machine all the way round and leave a gap for turning through.

Katrina used a walking foot because she was sewing through two layers of fabric and a layer of wadding.
Sew a quarter of an inch seam all the way around the edge of the fabric.

Cut off the corners and turn it through.
Then give it a press with the iron.
Where you've got the gap, fold it inwards and use binding clips to keep it closed.
Next, top stitch all the way round and stitch the gap closed. Go as near to the edge as you can and that will close the gap.
With the square of fabric (with the wadding inside) find the centre point.
A tip to find the centre of a square... Fold it in half, then half again - gives you the centre point.

Fold your side pieces in and overlap them by about half an inch. Then bring the bottom up.


Give it a good press and stitch down where the fabric meets, holding them all in place.
To finish off add metal poppers and a button on top or sew in your button and ribbon.
It's really that quick, easy and simple.
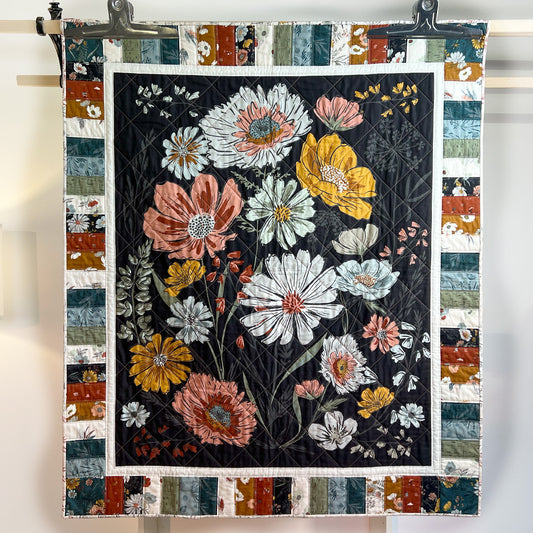
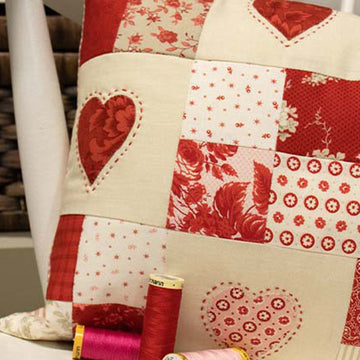
It would make a lovely gift. Imagine if you were going to give somebody a mini charm, you could pop it in the pouch as a lovely gift for somebody.
You could make these smaller if you wanted to. It doesn't matter what size it is, as long as it's a square.
Katrina's seen them made with felt for embroidery cases, and they've been beautifully decorated in embroidery threads. But we think this is a great way of using up the leftover squares from your layer cake.
If you'd prefer a video tutorial of this project, see below!

No comments


0 comments