What can I use a Charm Pack for?
What can I use a charm pack for?
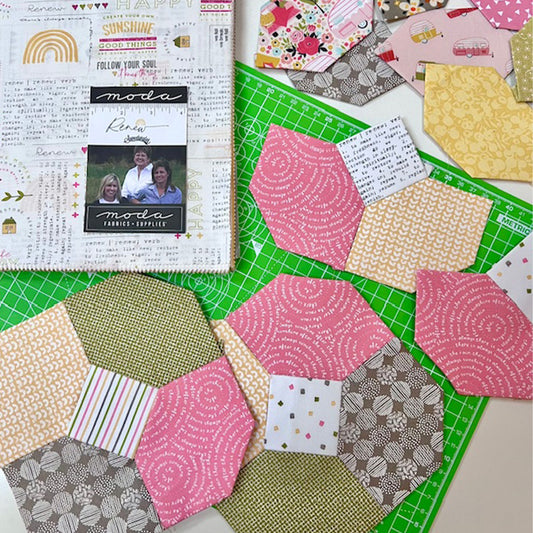
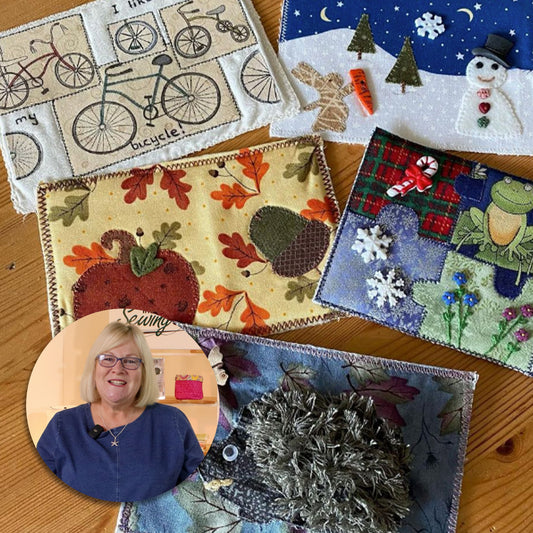
A Charm Pack has 42 x 5-inch squares which can be used to create quilts and other crafts. Katrina is going to show us how to make six of her favourite quilt blocks using a charm pack.
Our demonstration is using Moda's 30s Play Time Charm Pack.
Learn how to make:
Disappearing Nine Patch
Magic Four Patch
Half Square Rectangle
Half Square Triangle
Hourglass
Cathedral Window
How To...
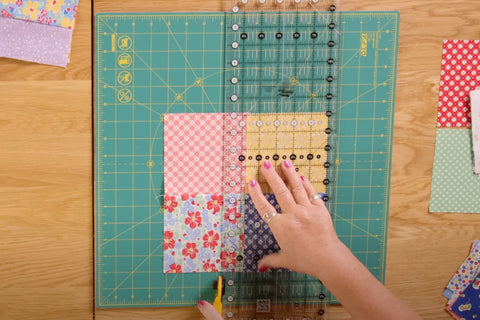
Disappearing Nine Patch Block
Start by simply joining 9 charm squares together.
The squares that you like the best, keep to your four corners - because they will stay complete squares.
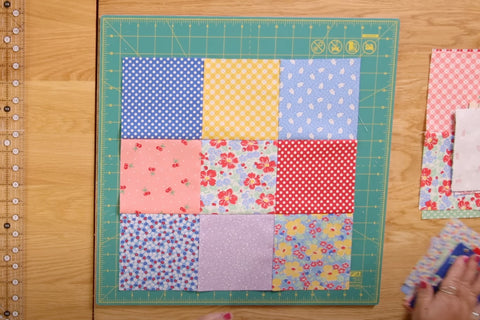
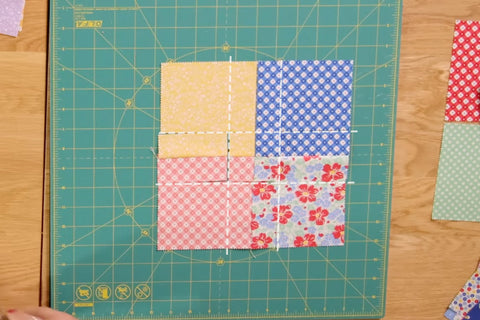
Measure 2 ¼ inch from the seam and cut up the centre.
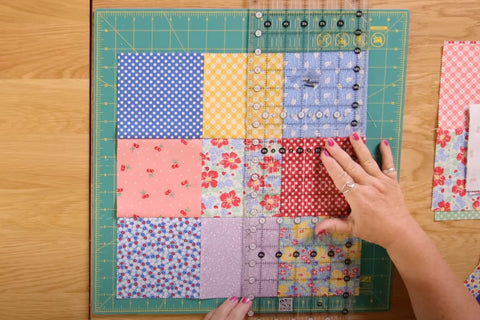
Rotate your cutting mat 90 degrees and repeat the process.
If you haven't got a rotating cutting mat - pick up your normal cutting mat and turn it round. It is important not to move your fabric because you need to stay as accurate as you can with these blocks.
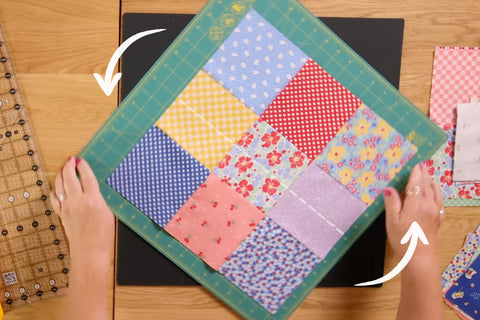
Cut up the middle again, 2 ¼ inches from the seam.
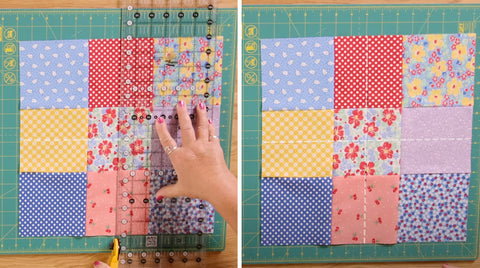
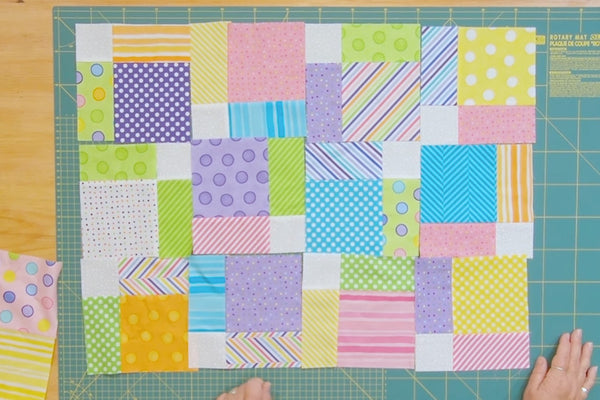
Arrange the squares any which way you want - and there you have the first charm pack block idea!
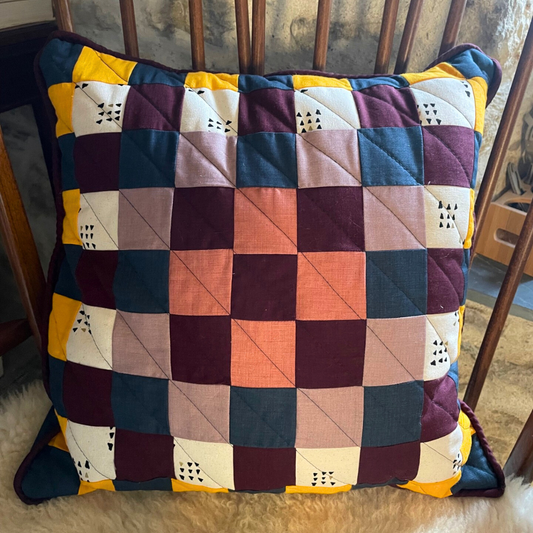
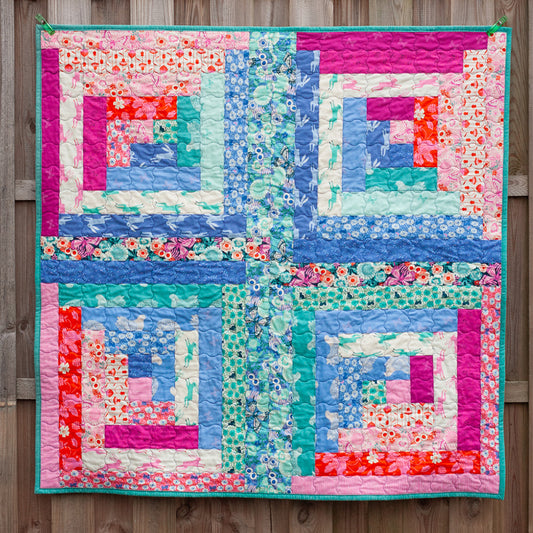
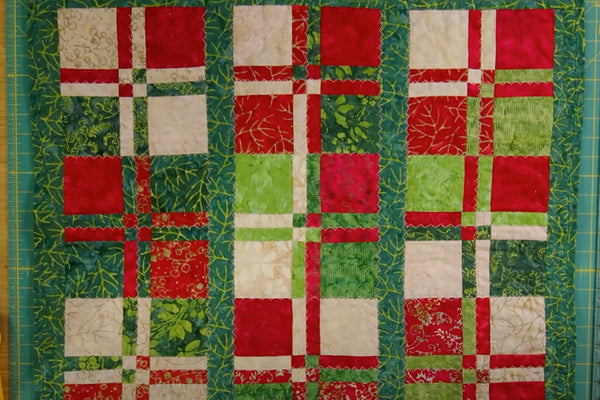
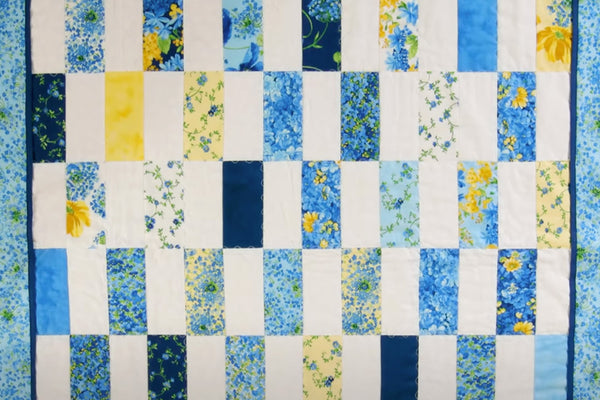
See below an example of a quilt layout using this method. If you want to find out more about this block, watch our YouTube tutorial!
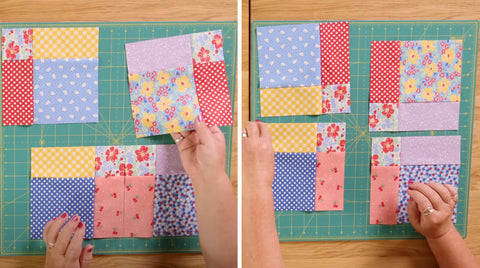
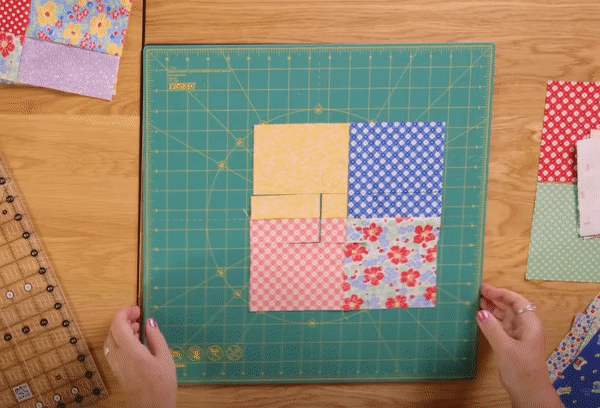
Magic Four Patch Block
Start by sewing 4 charm squares together (using a quarter inch seam).

Then measure out from the seam - 1 ¼ inch and cut up the middle.
Rotate your mat, 90 degrees and cut 1 ¼ inch away from middle seam.
Repeat this process another 2 times, so that you have rotated a full 360 degrees. Your block should look like the image below.
Now you must move the pieces clockwise:
The piece at 12 o'clock, move to 3 o'clock. The piece at 3 o'clock, move to 6 o'clock. The piece at 6 o'clock, move to 9 o'clock. The piece at 9 o'clock, move to 12 o'clock.
Now sew the top row together, then middle, followed by the bottom row, then finish by joining them all together. Then you have the Magic Four Patch Block!
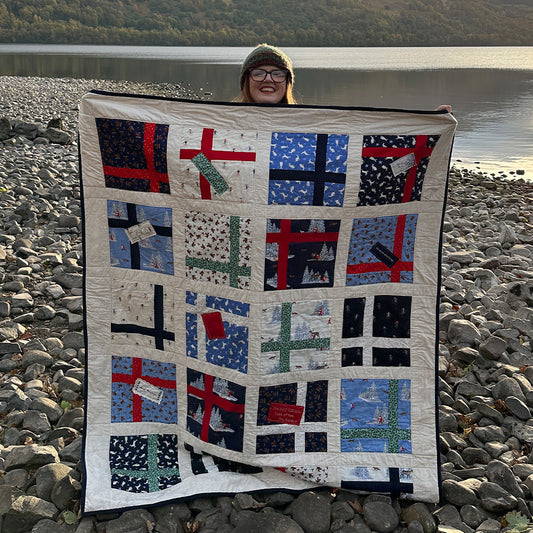
See below for an example of when this block has been used. You can also watch our YouTube tutorial to find out more.
Half Square Rectangle Block
Take 2 of your 5 inch squares (preferably a light and a dark) and sew ¼ inch down both sides.
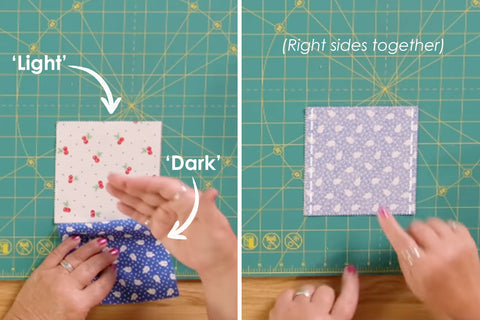
Measure 2 ½ inches across from the edge and cut straight up the middle - this then makes your half square rectangle block.
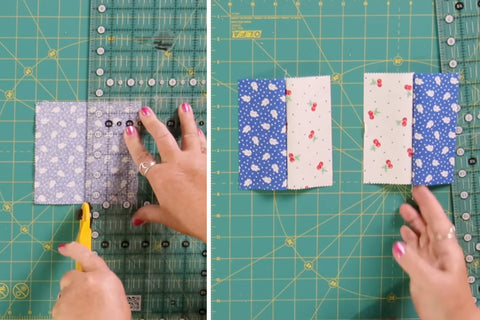
Press these towards the darker fabric and then the block can be put together in anyway you want.
See below for an example of when this block has been used to create a quilt, we have a YouTube tutorial where you can find out more.

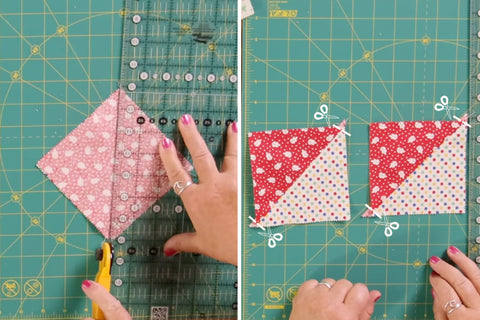
Half Square Triangle Block
Get 2 of your charm squares (light and dark) - put them right sides together and draw a diagonal line corner to corner using an iron off marker pen.
Then sew ¼ inch either side of the centre line.

Cut on the drawn line straight up the middle and give the blocks a press.
Then trim off what Katrina calls ears and you have your half square triangle block!
Hourglass Block
Using 1 light and 1 dark charm square (or contrasting colours) right sides together, draw a line on the diagonal (corner to corner). Then sew ¼ inch either side of the line.
Once sewn, cut down the centre.

Press the blocks towards the lighter fabric (in this demonstration it was the yellow side). Then place both blocks right sides together, but make sure your dark (blue) is on top of your light (yellow) - refer to image below.
Pressing the seams the same way means they will butt together nicely.

Draw another line corner to corner on the opposite side to your seam (if you didn't want to use a pen, you could always fold instead). Then sew ¼ inch either side of that line.

After sewn, cut straight up the middle of the drawn line/fold. Press the blocks flat and you've got something called an hourglass block.
When you lay this out you would lay it in opposite ways - see image below.

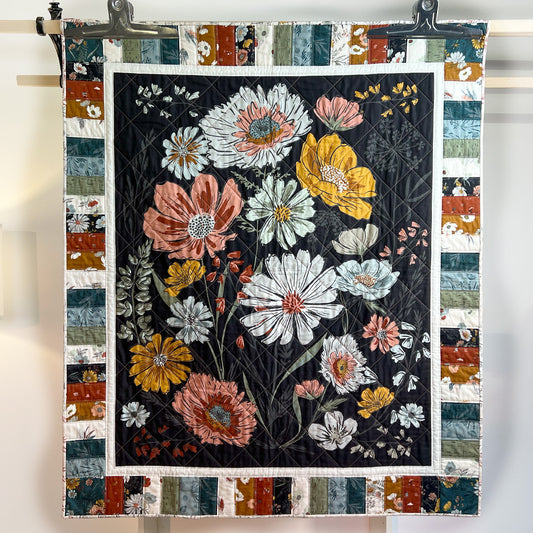
Below is an example of how the hourglass block can be used when creating a quilt. Watch our YouTube Tutorial to take a closer look!

Cathedral Window Block
Grab 5 charm squares, choose a centre square to your block and fold it in half, wrong sides together. Give it a press.

Now sandwich the folded middle block between the top two blocks and sew down on one side - see image below.

Once sewn, do the same but for the other two squares on the opposite side of the folded square. Sew down the other side.


Once both sides are sewn, open up the folded centre square and fold in half the opposite way. Then line up the folded square with the top of the other pieces of fabric (please see moving image below). Then sew along the top of the piece.

Open out fabric and press flat.
There is your cathedral window block!
If you want curved windows, simply fold back the edges, press, then slip stitch in place.

See below for another example of a cathedral block, but using bigger squares (from a layer cake) - if you'd like a closer look, check out our YouTube Tutorial.

If you'd prefer a video tutorial for these projects, see below!
Which is your favourite?

No comments


0 comments